Make one elevation work with the rest of the building
Wall Rendering Chester | Elevations, Gables and Junctions
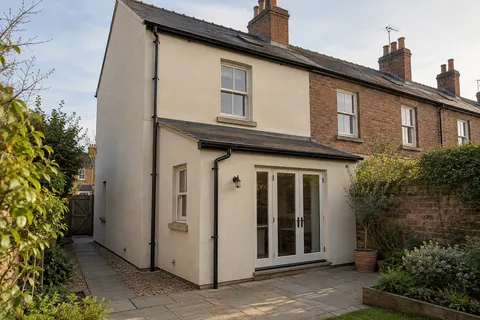
An individual wall can need attention while the rest of the building remains serviceable. The challenge is to treat that elevation properly and make its meeting points with retained work convincing. This may involve a rear wall, gable, entrance panel or side of an extension. The brief should describe the whole face and its edges, not only the most damaged patch visible in a photograph.

On this page
Draw the limit of the work
A return around a corner can look like a minor addition until it reaches another material or a neighbouring boundary. Set out exactly where the new covering begins and ends, including narrow strips beside windows and the underside of projecting features. If a drainpipe hides the intended joint, the detail still needs to work when the pipe is removed for maintenance. A natural architectural break is often useful, but its technical treatment must suit the construction rather than rely on concealment.
For a gable, the top edge and roof connection deserve particular attention. The covering should meet the verge or abutment in accordance with the design, with enough protection and suitable water-shedding details. At the foot of the wall, ground levels and damp-proofing arrangements influence the termination. Those boundaries can account for much of the complexity even when the wall itself appears to be a simple rectangle. A quotation based solely on gross area can miss that work.
- Set the edges Decide where new render stops against brick, stone or an existing finish.
- Prepare the background Remove loose material, repair masonry and prepare suction and surface key. Existing paint needs a specified removal or alternative treatment.
- Base coat Built up to level the wall, with mesh where backgrounds change or crack.
- Finish Matched to the rest of the house or chosen as a deliberate contrast.
- Shed the water Copings, sills and the base bead keep rain off the top and away from the bottom edge.
The usual order of work. The survey and the chosen products decide the actual steps.
Decide how much of the old face can remain
The retained covering must be assessed for condition and suitability. Surface discolouration alone does not prove that it needs complete replacement, while an intact-looking face may conceal loss of adhesion. An inspection should establish where repairs or removal are needed and how uncertainty will be handled. If a new system is proposed over retained material, its suitability must be supported by the relevant specification. The new surface depends on the layers left underneath it, not just on the quality of the final application.
| Part | Include in the brief |
|---|---|
| Main face | Construction, existing covering and visible defects |
| Top and bottom | Roof connection, ground relationship and render termination |
| Openings | Sills, heads, reveals and any retained surrounds |
| Side edges | Corners, neighbouring finishes and construction junctions |
Protect the shape of retained details
Sills, arches, bands and surrounds may project only a short distance from the original face. A thicker covering can change their proportions or reduce their ability to shed water. The proposed depth and edge treatment should therefore be checked before application. Where a feature needs repair, agree the sequence with the appropriate specialist. Rendering closely around damaged material without resolving it can create a neat-looking but short-lived junction. On a designated building, the treatment of those details also needs to follow the relevant approvals.
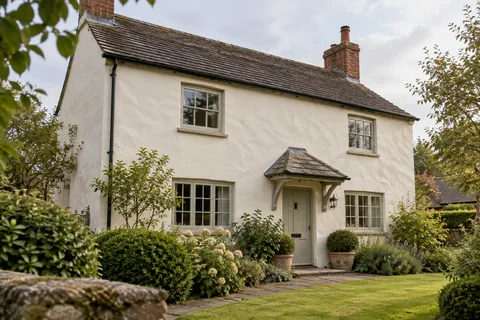
If the wall contains older masonry, a compatible lime specification may be relevant. A later extension on the same property may have different requirements. Our article on a modern addition behind a traditional frontage considers that situation in more detail. The point is to identify the construction and the desired relationship between sections, rather than select one material simply because it has already been used somewhere else on the house.
Compare the finish at the scale of the wall
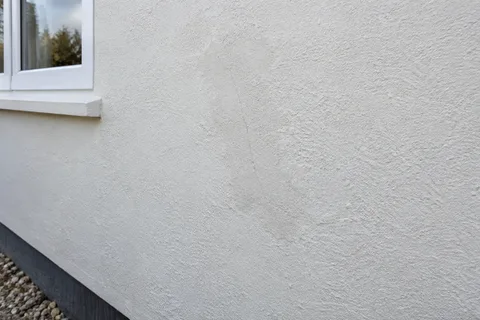
An uninterrupted elevation makes texture and application variations more apparent than a small sample viewed in isolation. Monocouche offers a mineral finish with its own appearance, while a silicone system can provide a different grain and decorative character. The background and the complete system determine which options are appropriate. Where a cement-based render is specified, the coating and ongoing maintenance should also be clear. Colour selection comes after those technical choices, with a representative sample showing the intended result.
Matching an adjoining weathered surface exactly may not be realistic. A new finish can differ in colour, texture or how it reflects light even when the nominal shade is similar. It may be better to treat a complete panel or use a deliberate visual break. If the existing adjacent wall is sound, a compatible colour change could help coordinate the scheme, but it will not reshape its texture. The scope should make that distinction clear so the owner knows whether the proposal promises coordination or an attempted close match.
Arrange access for all the necessary stages
Inspection, removal, preparation, application and checking can require repeated access to the same area. The access provision should suit the whole sequence, with competent planning and appropriate protection. A wall over a lower roof or beside a narrow route may require more arrangement than its area suggests. Where another trade needs access to complete a flashing or fitting, coordinate that attendance before the finishing work closes the detail. The aim is to avoid dismantling access and then discovering an incomplete high-level junction.
Keep the repair and replacement decisions distinct
Sometimes the survey supports a limited repair instead of a new covering across the entire elevation. Sometimes widespread failure makes local patching difficult to justify. The explanation should connect the proposed extent to the observed condition. It should also distinguish urgent remedial work from an optional visual upgrade. An owner can then choose a broader refurbishment with an understanding of what it adds, rather than being told that every cosmetic inconsistency requires complete removal.
Inspect the points where materials meet
At the end, look at the termination around openings, roof edges and the base, along with the agreed surface appearance. Check that associated fittings have been reinstated and that temporary protection has been dealt with. Keep the finish reference and any information about retained layers. A future alteration to the wall will be easier to specify if its build-up is known. The Chester service overview links the options, while the house-rendering guide explains how the same elevation can become part of a coordinated wider scheme.
Common questions
Can a wall be rendered without changing the adjacent elevation?
Often it can, but the junction needs a suitable technical and visual detail. Establish the stopping point, retained material and colour relationship before work begins. A pipe or corner may help define the boundary, but it does not replace the need for a proper junction.
Will new render straighten every irregular wall?
The achievable result depends on the background and the specified preparation. Render should not be used to conceal an unresolved structural issue. If a flatter appearance is important, discuss the existing tolerances and proposed build-up rather than assuming a thin finish will correct everything beneath it.
See housing and planning information for Chester and nearby places, including the source and geography behind each figure.